7.1 Videos through OneDrive
WARNING: You must apply compression to your video before migrating to OneDrive. If you do not, the video will be absurdly large (depending on how you captured it) and will be very problematic for students with a slow internet connection or one that relies on data. The YouTube route (outlined in Section 7.2) is recommended as it automatically handles video compression at multiple levels for you when you upload.
Mississippi State ITS has documentation on how to do this for Windows or Mac. Visit the Knowledge Base for more information.
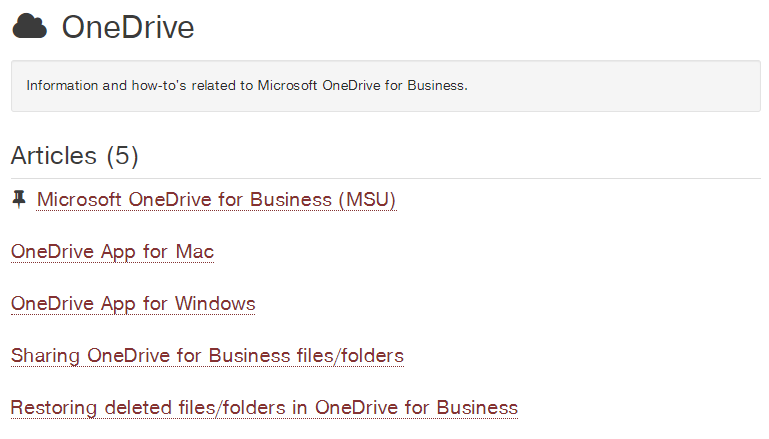
Figure 7.1: ITS Documentation on installing OneDrive
7.1.1 Copy video to OneDrive
If you have OneDrive installed on your computer, open it up and create a folder called “videos”. Once done, go ahead an copy your video into this directory.
7.1.2 Put video on Canvas
Canvas handles videos through rich text formats (rtf). This means you need to create a page. I plan on listing all of my lecture videos on its own page with appropriate titles.
7.1.3 Create Canvas page
Create a dedicated page for your videos by going to “Pages -> + Page” and entering a title. If you want to publish your page right away, click “Save and Publish”. If you opt to not publish it right away, be sure to come back later and publish it so it is accessible to your students.
Figure 7.2: Create a page in Canvas
7.1.4 Insert video on page
To insert your video on a page, click “Edit” on the page you wish to insert the video on. In the toolbar, click the “More External Tools” button and find “Office365”. Here, you can navigate to your video, select it, and click “Attach File”. A link to your video will now appear on your page. You can go ahead and rename it.
Figure 7.3: Insert a video to your page
Save your page and click the link to your video to verify that it works!