2.3 Running OBS auto-wizard
Once installed, open up OBS. You should see something like this.
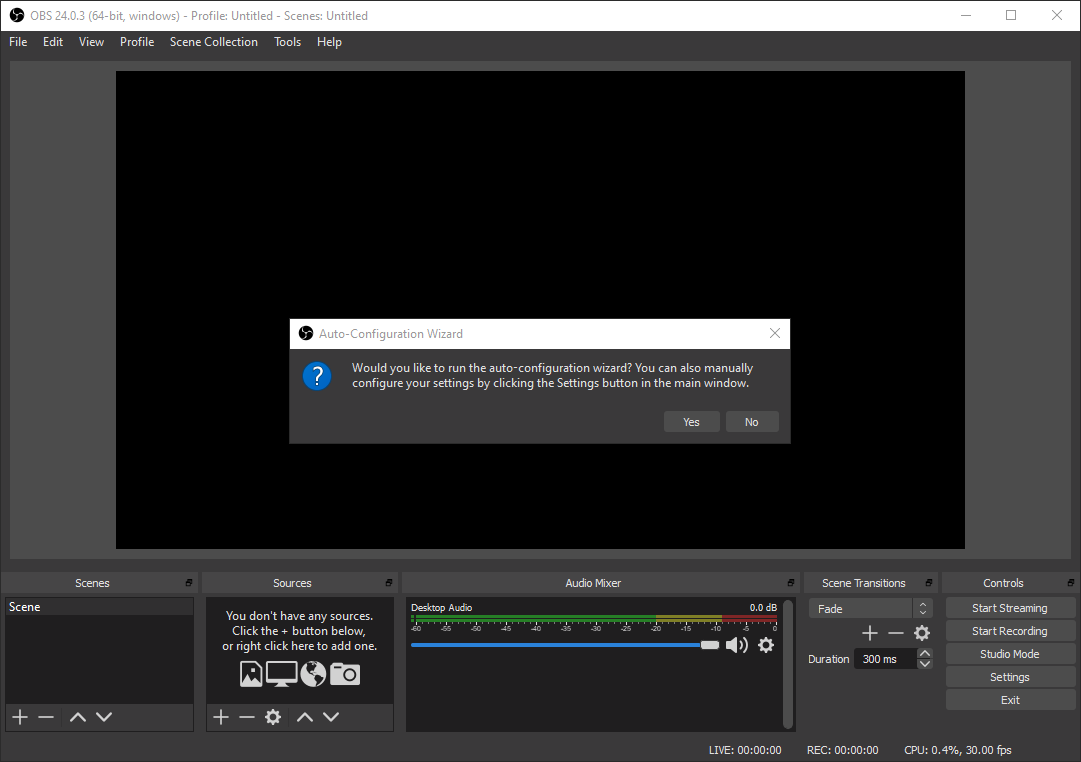
Figure 2.3: OBS Studio Main Window
Here, the program is asking if you would like to run the auto-configuration wizard to setup your program. Go ahead and click yes.
I plan on connecting OBS Studio to my Twitch account. Therefore, I will select “Optimize for streaming”. For those who plan on recording only, select “Optimize just for recording”.
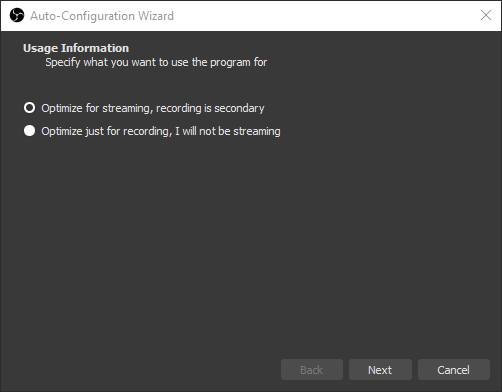
Figure 2.4: Wizard Screen 1
Here I went with the defaults. My computer monitor uses a 1920x1080 resolution already. Also, 60 FPS is always better quality than 30 FPS but your mileage may vary depending on how good your computer is. If you have a slower machine, you may want to select 30 FPS.

Figure 2.5: Wizard Screen 2
Since I plan on integrating OBS with Twitch, I’m going to go ahead and select Connect Account. Punch in your Twitch username and password. Note: If you have not yet setup a Twitch account, refer to Section 3.1 for instructions on how to do this.
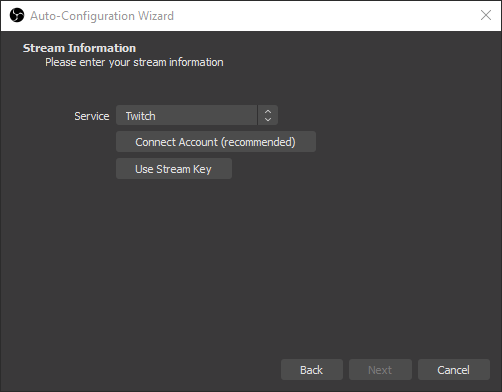
Figure 2.6: Wizard Screen 3a
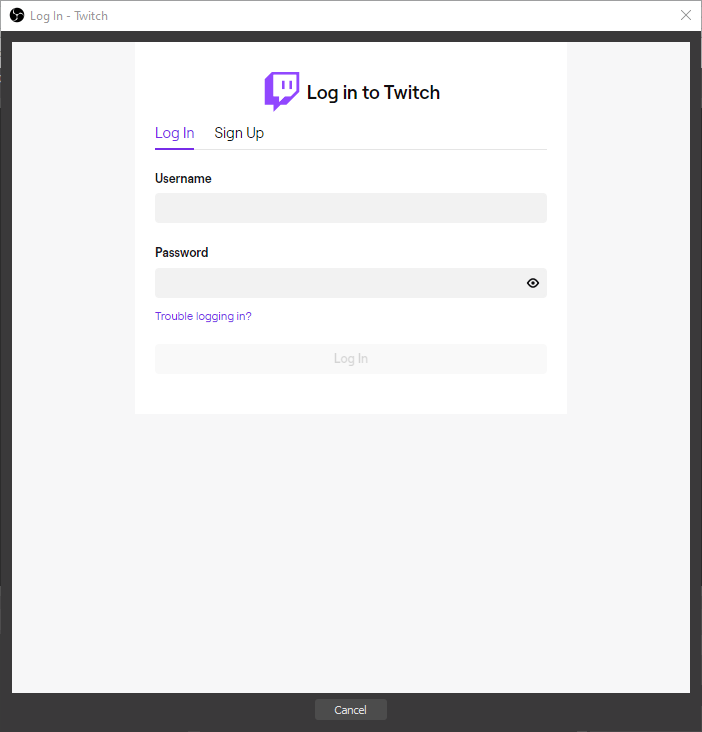
Figure 2.7: Wizard Screen 3b
Continue with the Twitch setup by clicking next on this window.
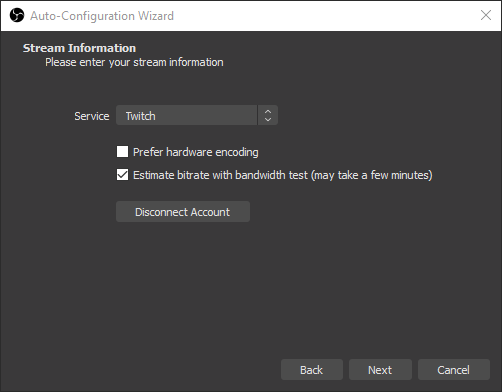
Figure 2.8: Wizard Screen 4
When everything is done, you should see a summary screen. Click Apply Settings when you’re ready to move on.
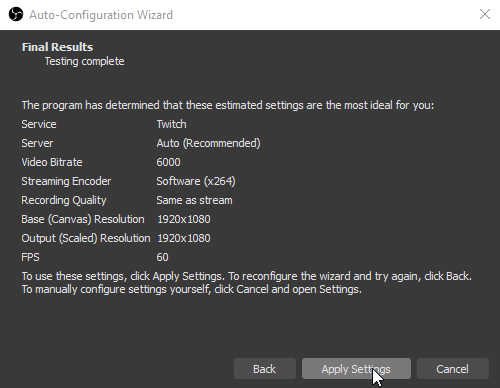
Figure 2.9: Wizard Screen 5
Before moving on, you may notice two floating windows on your screen that are related to Twitch.
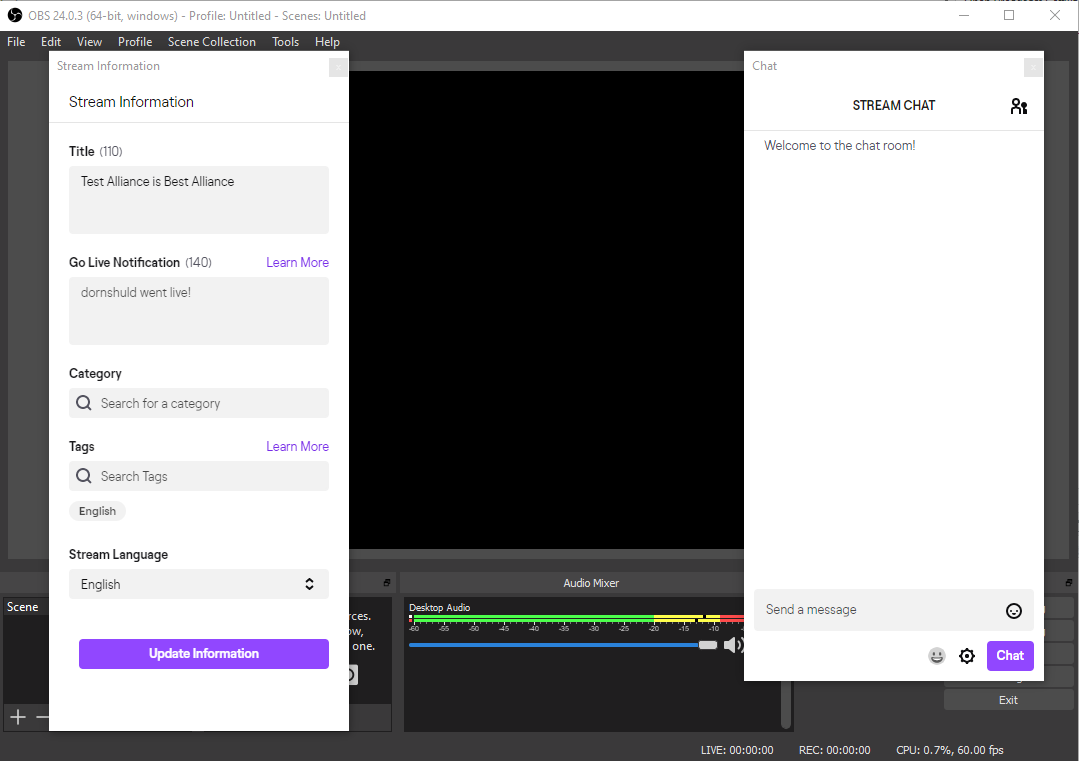
Figure 2.10: Post-wizard
You can dock these windows to the left and right hand side of your OBS window. Simply track the smaller window to the left (or right) and you will be able to auto-dock these conveniently.
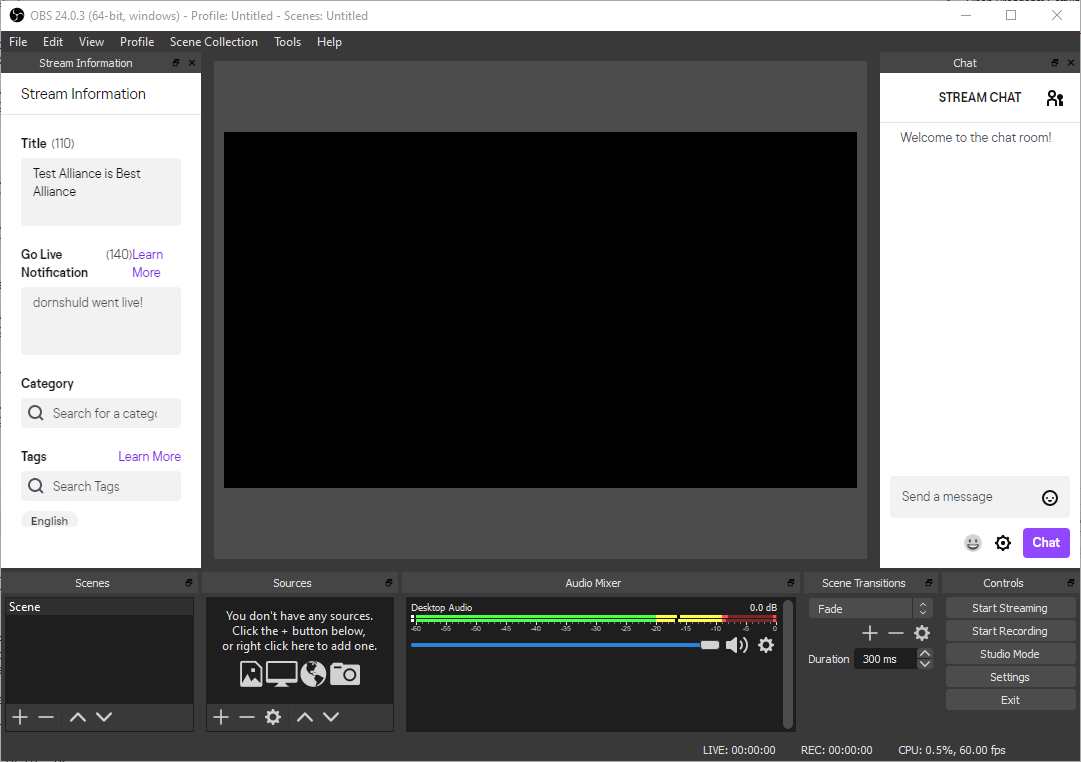
Figure 2.11: Post-wizard docked windows
You will note that the window on the left is the Stream Information window. Here you can give your stream a title (perhaps something like “Chemistry II Class”, “Chemistry II with Dornshuld”, etc.), a notification that subscribers will see when you go live, as well as a category and tags. Twitch has a special tag for non-gaming streams called IRL. Punch that in the box and make whatever selection you see appropriate.
The window on the right is the chat window. When you go live, Twitch users can join in on your livestream and chat with you. You have the ability to chat back as well.