2.4 Scenes and sources
The main window of OBS Studio is organized into smaller sub-windows. The main, black window in the middle of the screen will show what you would be streaming/recording if you started either of those. Right now, nothing is showing because we have not told it what to stream yet!
The principle elements to constructing what you stream from your computer are Scenes and Sources. You will see these two smaller windows in the bottom-left corner of the OBS main window. You can always visit the official OBS Sources Guide to better understand how these work. To quote the official documentation:
“Scenes and Sources are the meat of OBS Studio. These are where you set up your stream layout, add your games, webcams, and any other devices or media that you want in the output.”
Think of a scene as a pre-configured set of sources that will display when you have activated that particular scene. For example, you can create a scene that will display only your PDF window (window source) in conjunction with an active microphone (audio source). Another scene can be setup to display a message while muting your microphone at the same time.
2.4.1 Scenes
I am going to set up three scenes:
- Stream Start
- Lecture
- BRB (i.e. “Be Right Back”)
These will be the three main elements to my livestream (for office hours) and/or lecture. Simply click the “+” in the bottom-left of the Scenes window and type a name for your scene. Click “Okay” when you’re satisfied.
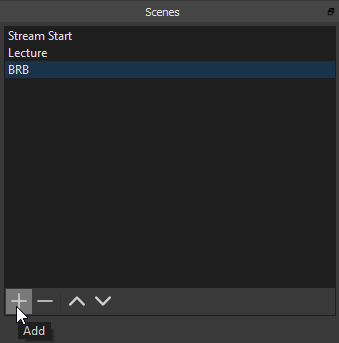
Figure 2.12: Create and name your scenes
It is useful to have a “BRB” or “Away” scene in case you have to cutaway from a livestream mid-stream. You can configure a window that displays a message that you will return soon. This way, everyone tuning in knows that the livestream is on pause and will continue shortly. You never know when your phone is going to ring and a private voice mail is being left. You certainly do not want to broadcast that to the world.
2.4.2 Sources
Now that my scenes are defined, lets assign them sources. I will show and discuss how I setup my Lecture scene.
Click the “+” button in the bottom-left corner of the Sources window. The first thing I will add is a microphone via the “Audio Input Capture” selection.
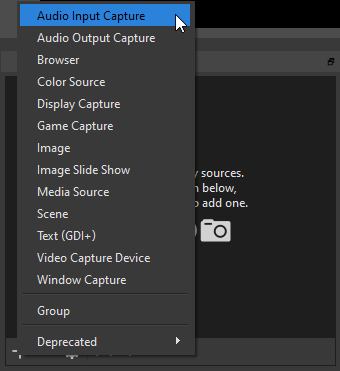
Figure 2.13: Select Audio Input Capture

Figure 2.14: Give a descriptive name for the Source
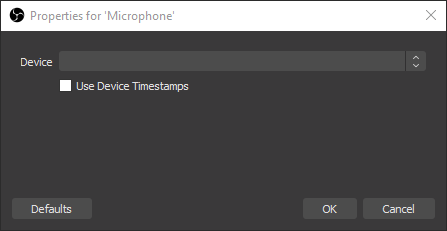
Figure 2.15: Select your microphone device from the dropdown box
When you are done, you should see a new Source listed with the name you gave it. I gave mine the name of “Microphone”.
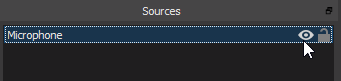
Figure 2.16: Your new Source is now listed for the selected Scene
It is worth pointing out the function of the little “eye” icon to the right of the Source. You can quickly turn off sources by clicking the “eye” icon and back on again by re-clicking the icon. This is useful when, perhaps, you want to cut the feed from your microphone at a moment’s notice.
I will now add my PDF reader program to the scene since I will display my lecture notes in their PDF format. If you plan to use PowerPoint (or some other file format), you will have to make different selections than what I show below. The PDF reader I use is SumatraPDF, a free, lightweight PDF program. This program opens up as a window. Therefore, I will select a new Source that captures a window.
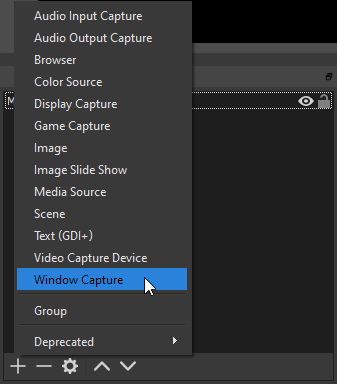
Figure 2.17: Select window capture
Once again, give it a descriptive name (e.g. PDF) and click OK. The next window will ask you to select which window you want to assign to this source. This means that you must open (or already have open) the program you want to assign. I already have SumatraPDF fired up on my PC. It will show in the Window drop down box. If you haven’t opened your program yet, do so now and start-over with this process.

Figure 2.18: Select SumatraPDF.exe
When you select an option, you should see the black box in OBS change to that window. This is showing you what you have selected and how it will show in your stream/recording.
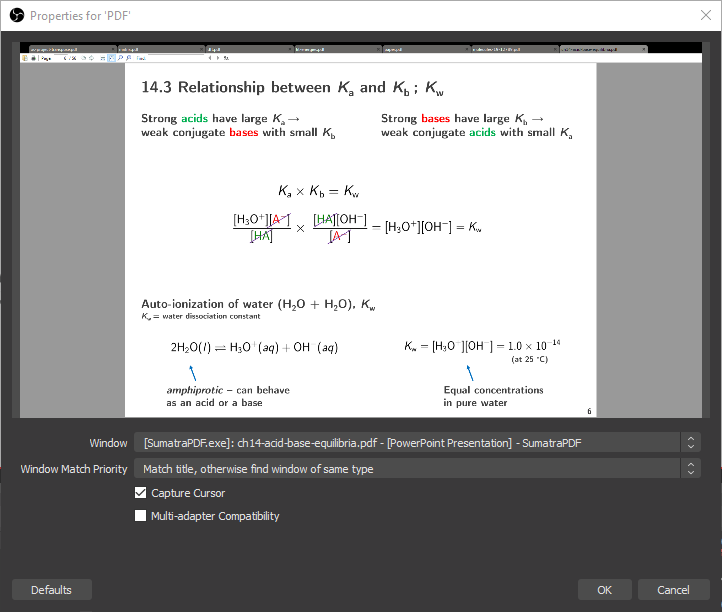
Figure 2.19: Select SumatraPDF.exe
2.4.3 Test your scene
If you have a dual-monitor screen setup, it is beneficial to put OBS on your secondary monitor. Select the “Lecture” scene and, on your primary monitor, bring up the SumatraPDF window. Scroll through a PDF and move your mouse around. You should see your actions mirrored on the preview window of OBS. This is what a viewer will see when they watch your live stream or see your recorded video.
Below I show you what the OBS preview window shows as I work in SumatraPDF on my other monitor screen.
Figure 2.20: OBS Preview Window
2.4.4 Audio sources
At this point in the tutorial, it is worth pointing out that audio is captured and broadcasted from your sound card by default. Looking at my “Audio Mixer” window, you will see two items:
- Desktop Audio
- Microphone
Microphone appeared when I added it as an “Audio Input Capture” Source. However, Desktop Audio has always been there. Desktop Audio simply broadcasts anything that is currently being processed by your sound card. For example, I am currently playing music on my PC. This signal is being mixed into the audio of my stream/recording.
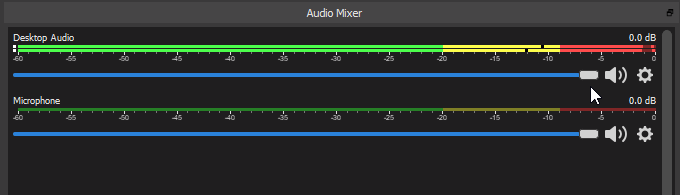
Figure 2.21: Sound from my computer is being mixed into the audio of OBS
You can “mix” or “mute” this signal completely by adjusting the volume bar for the appropriate signal. Here, I’ve muted the Desktop Audio. Muting the Desktop Audio simply mutes all audio signals from your recording or stream.
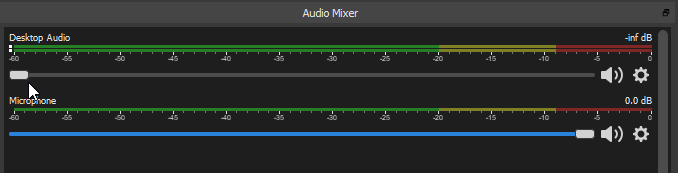
Figure 2.22: The Desktop Audio signal is omitted from the audio of OBS