7.2 Videos through YouTube
YouTube might be the better solution to hosting videos as YouTube servers are abundant nationwide and YouTube automatically handles video compression when you upload. You need a YouTube account to do this. Another advantage to using YouTube is that you can make your videos unlisted or even private yet still share them via Canvas (or elsewhere).
Benefit: YouTube will automatically compress your video in multiple ways after you have uploaded your video.
7.2.1 Create an account on YouTube
If you have a Google account, you already have a YouTube account. Go to https://www.youtube.com/ and sign-in.
7.2.2 Upload video to YouTube
Click on your profile icon in the top-right corner of the screen and click on “YouTube Studio”. From here you can click the “Upload Video” button. Click “Select File” and select a video to upload.
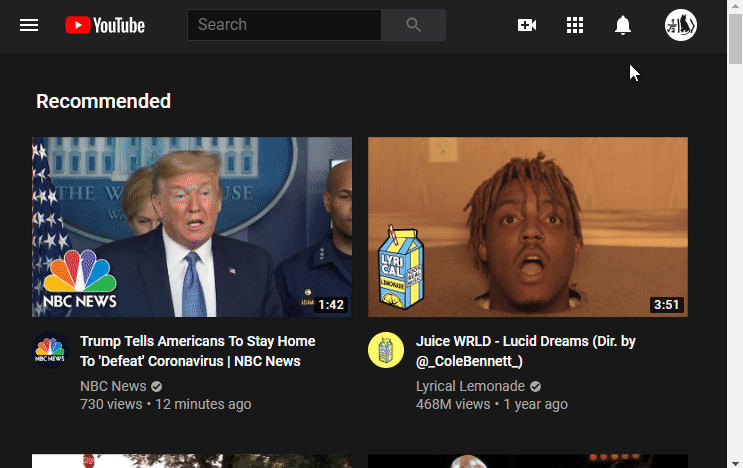
Figure 7.4: Navigate to the ‘Upload Video’ page
7.2.3 Include video information
You will be met with an option-rich window where you can customize the information related to your video including:
- Title
- Description
- Thumbnail image
- Licensing
- Visibility (Public, Unlisted, or Private)
You can see the options in the screenshots below.
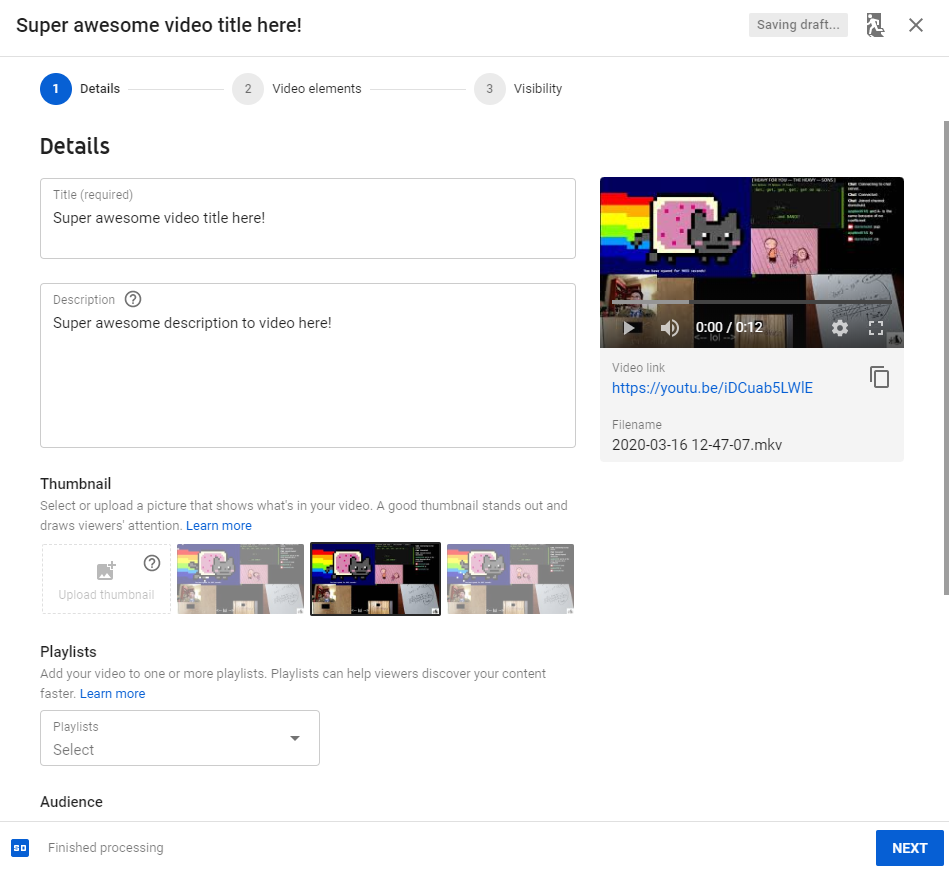
Figure 7.5: Video details
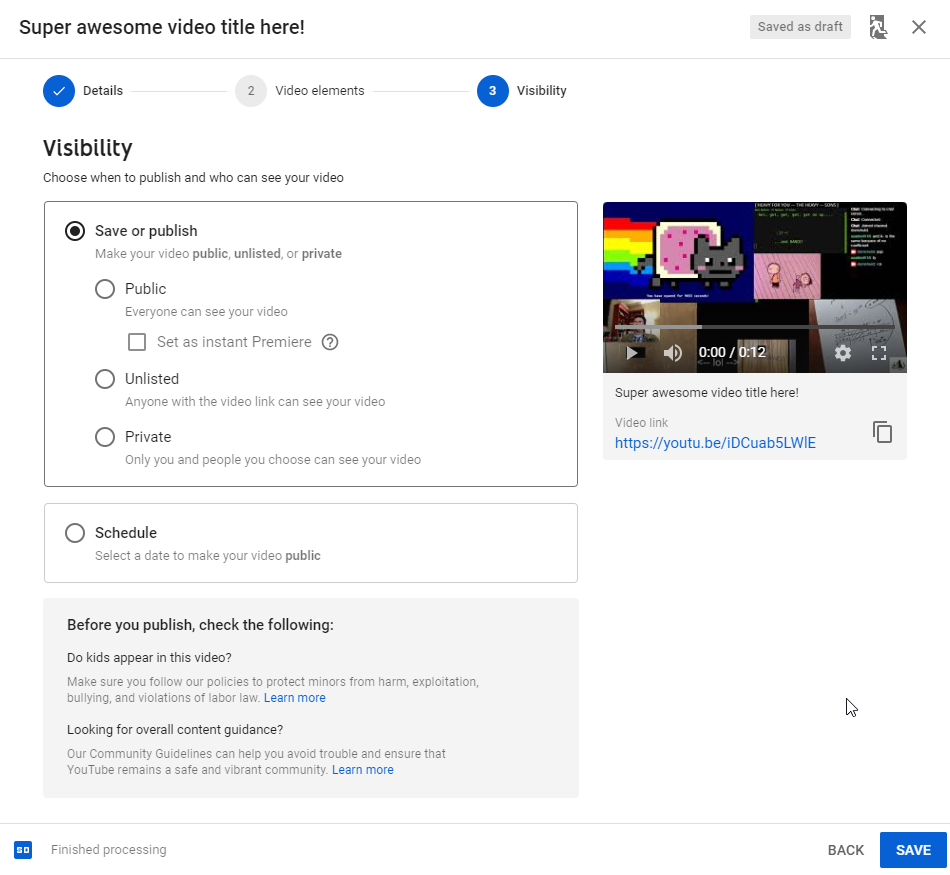
Figure 7.6: Video visibility
You can set your videos to unlisted or private and still share them via Canvas. When you’re satisfied, hit save. The video will now appear in a list of videos that are on your channel.
7.2.4 Share video to Canvas
Click on the “Options” menu button (3 vertical dots) that will appear when you roll your mouse over the video in your list. Here, click “Get shareable link”. This will automatically copy the link to the clipboard. You will paste this link in a Canvas page.
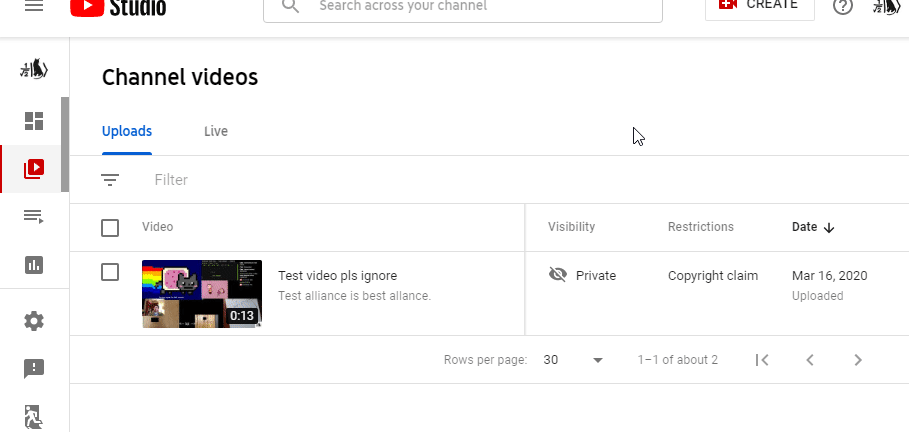
Figure 7.7: Get shareable link for video
Go to Canvas and select whatever page you would like to place your video in. Paste the link in the page editor. Be sure to create a URL for the text. I animate this process below. Once done, click “Save”.
Figure 7.8: Create a link in Canvas to your video
After a moment, you will see the thumbnail for the video appear in the page.
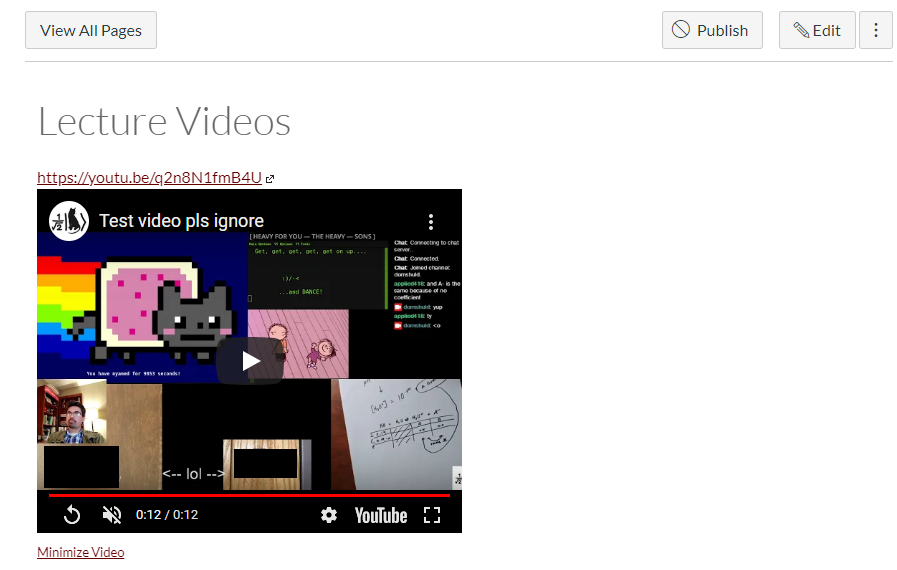 Canvas will automatically find the video and make an embedded video container directly on the page.